How to Patch a Hole in Drywall Like a Pro (Small and Large Holes)

Holes in drywall happen to everyone. A doorknob swings too hard, a picture hook pulls out wrong, or someone moves furniture carelessly. Whatever caused the hole in your wall, the good news is that drywall repair is one of the most beginner-friendly home repairs you can do.

I patched my first hole after my kids decided to see what happened when they threw a toy car at full speed. It was about the size of a golf ball and looked awful. After one trip to the hardware store and a couple of hours, you couldn’t tell it was ever there. Here’s exactly how I did it.

What You’ll Need

  • Spackle or joint compound (for small holes)
  • Drywall patch kit (for holes bigger than 1 inch)
  • Putty knife or drywall knife
  • Sandpaper (120 and 220 grit)
  • Primer and matching wall paint
  • Damp cloth

Step-by-Step Instructions

Step 1: Assess the hole size

Small holes (nail holes, small dents up to half an inch) just need spackle. Medium holes (half an inch to 4 inches) need a mesh patch. Large holes (bigger than 4 inches) need a backing board and a cut piece of new drywall. Know what you’re dealing with before you start.

Step 2: Clean the edges

Use your knife to remove any loose paper or crumbling drywall around the edges of the hole. You want a clean, solid edge for the patch to grip onto. Wipe the area with a damp cloth and let it dry.

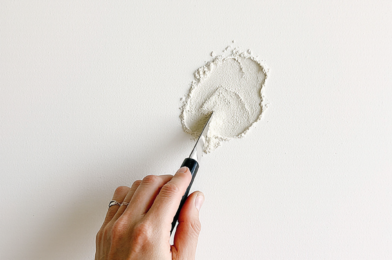
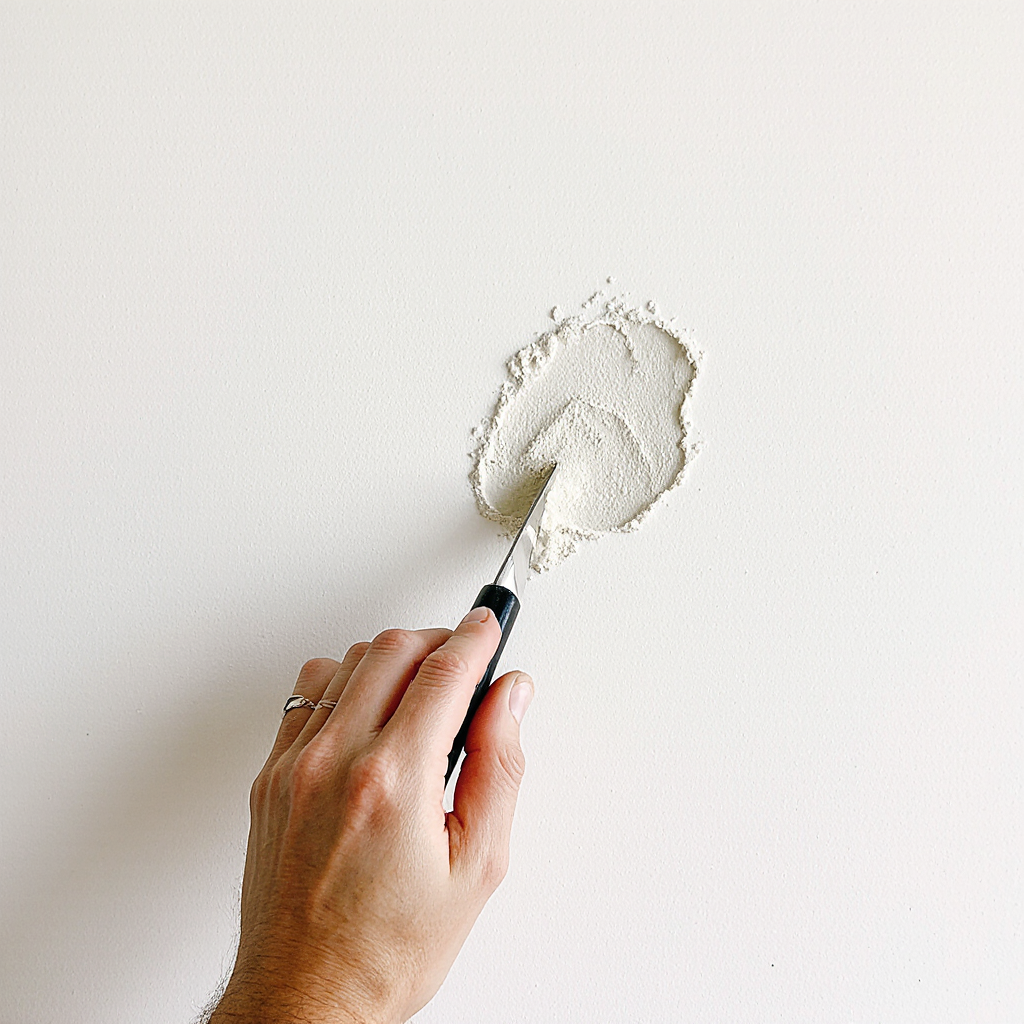
Step 3: Apply your patch or spackle

For small holes, press spackle in with your putty knife, smooth it flat, and let it dry. For medium holes, stick the self-adhesive mesh patch over the hole, then apply joint compound over it in a thin, smooth layer that extends a few inches beyond the patch on all sides.

Step 4: Sand it smooth

Once completely dry (usually 24 hours), sand the area with 120-grit sandpaper until it’s level with the surrounding wall. Then go over it again with 220-grit for a smooth finish. Run your hand across it — if you can’t feel the edge, you’re ready.

Step 5: Prime and paint

Apply a coat of primer first. This is a step many beginners skip, and it’s why patches sometimes look different from the surrounding wall even after painting. Let the primer dry fully, then paint with your matching wall color. You may need two coats for a perfect match.

Pro Tips

For large holes, cut the damaged area into a clean square or rectangle shape. It’s much easier to cut a patch piece and fit it to a neat square than to a jagged random shape.

If you can’t find the exact paint color, take a chip of paint from an inconspicuous area (like behind a door) to a hardware store. They can match it almost perfectly with modern color-matching technology.

Drywall repair is genuinely one of the most satisfying DIY jobs. You go from an ugly hole to a smooth, invisible wall and the whole process costs under $15. Take your time on the sanding and priming steps and the result will look professionally done.

How to Fix a Leaky Faucet in 5 Simple Steps (Without Calling a Plumber)

There’s something quietly maddening about a leaky faucet. That slow, rhythmic drip you hear at 2am the one that sounds louder the more you try to ignore it. I know the feeling. My kitchen faucet started dripping last winter and I kept telling myself I’d call someone. Two weeks later, I finally just fixed it myself. Took me about 45 minutes, cost me less than $8, and honestly I felt pretty proud afterward.

The good news is that most faucet leaks come from one small part that wears out over time. You don’t need plumbing experience. You just need a few basic tools and a little patience.

What You’ll Need

  • Adjustable wrench
  • Flathead and Phillips screwdrivers
  • Replacement washers and O-rings (under $5 at any hardware store)
  • Plumber’s grease
  • A small bowl or towel to catch water

Step-by-Step Instructions

Step 1: Turn off the water supply

Before you touch anything, find the shut-off valves under your sink and turn them clockwise until they stop. Then turn the faucet on to release any remaining water pressure. This step is important — skip it and you’ll have a much bigger problem on your hands.

Step 2: Remove the faucet handle

Look for a small decorative cap on top of the handle. Pop it off with a flathead screwdriver and you’ll find a screw underneath. Remove the screw and pull the handle straight up. It might take a little wiggle if it’s been there for years.

Step 3: Find the worn part

Once the handle is off, you’ll see a packing nut. Use your wrench to unscrew it counterclockwise, then pull out the stem. At the bottom of the stem, there’s a rubber washer held by a brass screw. If it looks flat, cracked, or shiny, that’s your problem.

Step 4: Replace the washer

Take the old washer to the hardware store to match the size, or buy an assorted pack for a few dollars. Press the new washer firmly in place and secure it with the brass screw. While you’re at it, check the O-ring around the stem and replace it too if it feels stiff or looks cracked.

Step 5: Reassemble and test

Put everything back in reverse order: stem, packing nut, handle, screw, cap. Turn the water supply back on slowly and watch closely. The drip should be completely gone. If it still drips, the seat valve may be worn and might need professional help but this fixes about 90% of household faucet leaks.

Pro Tips

One thing people often miss: apply a thin layer of plumber’s grease to the new washer before installing it. This helps it seat properly and makes it last much longer.

Also, don’t overtighten the packing nut when putting it back. Finger tight plus a quarter turn with the wrench is enough. Over-tightening can damage the seat and cause a new leak.

Fixing a leaky faucet is one of those home repairs that sounds harder than it actually is. Once you’ve done it once, you’ll wonder why you ever thought about calling a plumber for it. Save that money, use it on something else, and enjoy the silence at night.