Removing wallpaper is a job that people either find satisfying or absolutely maddening, depending entirely on how the paper was originally installed and how long ago it went up. Modern vinyl wallpaper on properly primed walls peels off in large sheets with minimal effort. Old paper on unprimed drywall requires patience, the right tools, and careful technique to avoid tearing the drywall face paper underneath.
I’ve removed wallpaper in three different homes and the key lesson each time was the same: the right removal solution and enough dwell time make all the difference.
What You’ll Need
- Wallpaper scoring tool (DIF Scorer or similar)
- Spray bottle or garden pump sprayer
- Wallpaper removal solution (fabric softener + hot water works well)
- Wide plastic scraper (6-inch)
- Metal wide putty knife (for stubborn sections)
- Sponge and bucket
- Drop cloths to protect floors
- Fan for ventilation
Step by Step Instructions :
Step 1: Prepare the room
Remove all furniture or push it to the center of the room. Lay drop cloths on the floor this job creates a significant amount of wet debris. Turn off the electricity to any outlets or switches on the walls you’re working on, as you’ll be using a lot of water near them.
Step 2: Score the wallpaper surface
Run the scoring tool across the wallpaper in overlapping circular patterns. This creates tiny perforations that allow the removal solution to penetrate through the wallpaper’s outer layer and reach the adhesive underneath. Don’t press too hard you want to score the paper, not gouge the wall.
Step 3: Apply the removal solution generously
Mix equal parts warm water and fabric softener in a spray bottle (this works as well as commercial products and costs a fraction of the price). Spray a section of wall thoroughly about 4-6 square feet at a time and wait 5-10 minutes. The paper should look visibly wet and slightly darker in color. Don’t rush this step.
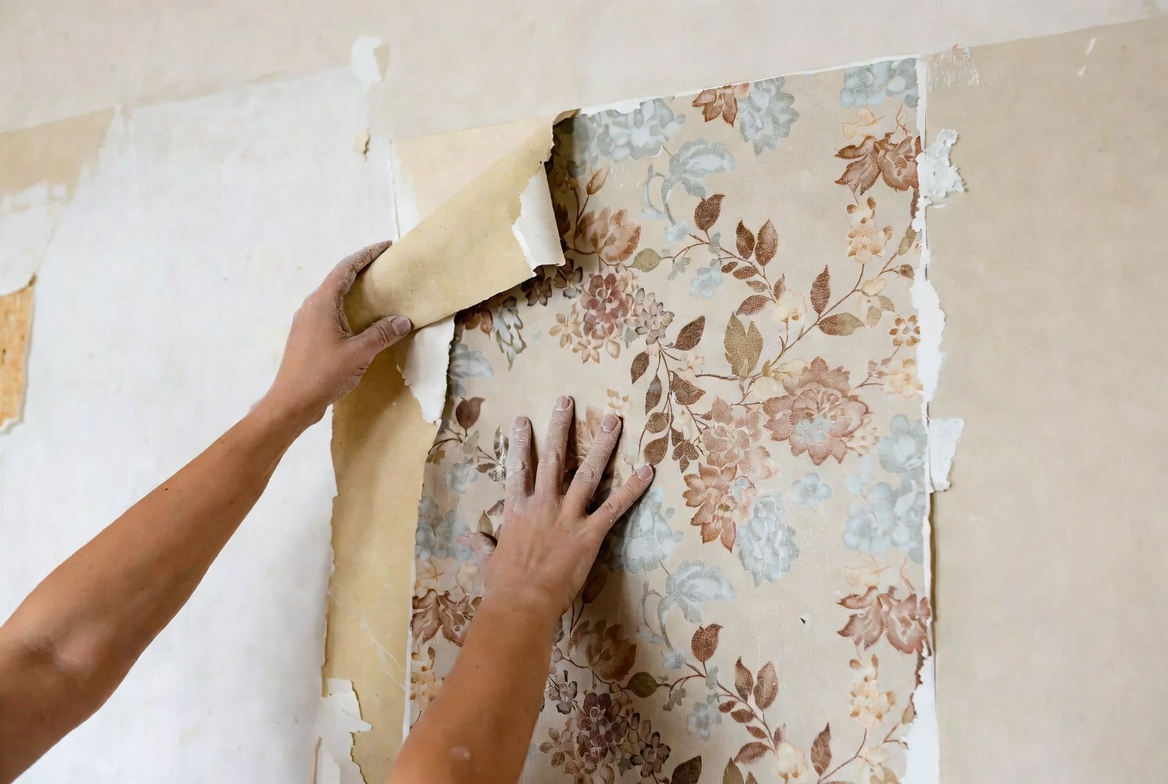
Step 4: Scrape the paper off carefully
Start at a corner or seam and work your wide scraper under the paper at a low angle (almost parallel to the wall). The wetter and softer the adhesive, the less force you need. If you’re using significant force, the paper needs more dwell time with the solution. Force causes gouging patience prevents it.
Step 5: Remove the adhesive residue
After all the paper is off, there’s still adhesive (sizing) left on the wall. Sponge the walls with warm water and scrub with a sponge to remove it. This step is often skipped and always regretted any remaining adhesive will cause new paint to bubble and peel. Rinse the walls once more with clean water and allow them to dry completely for 24-48 hours before painting.
Pro Tips
If the drywall gets slightly damaged or torn during removal, repair it with joint compound before painting. Apply a thin coat, let it dry, sand smooth, and prime before painting.
To check if a wall is ready to paint, shine a bright work light at a sharp angle across the wall surface in a dark room. This raking light technique reveals every bump, ridge, and imperfection that normal lighting hides. Address anything you find before painting.
Final Thoughts
Wallpaper removal is one of those jobs where the right approach makes the difference between a half-day project and a week of frustration. Score thoroughly, keep the paper wet with solution, give it time to soak in, and scrape gently. Rushing any step leads to wall damage that adds time and cost to the overall project.